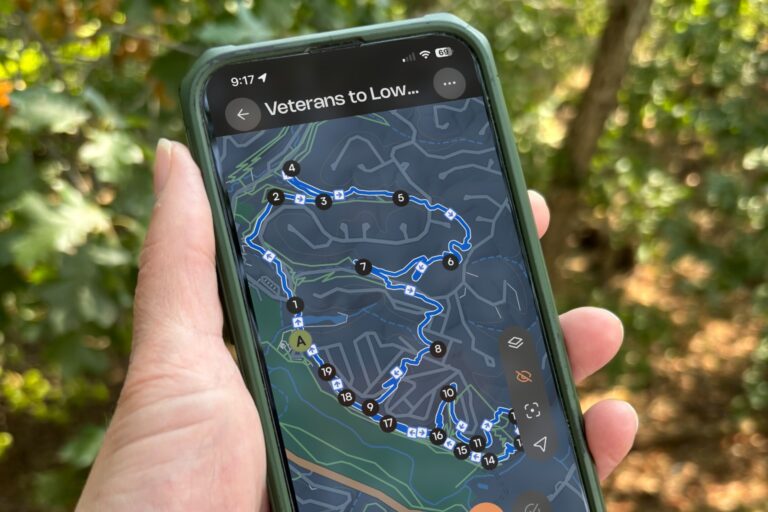
Get Your Body Ready to Hike
You do not need to be in great shape to start hiking, but a little preparation keeps you on the trail and off the couch with a sore knee. This guide covers how to build up gradually, what tends to get hurt, three simple strength moves, and how to warm up and cool down.
Start Slowly
The most common beginner mistake is doing too much too soon. Build up in three steps, and change only one thing at a time.
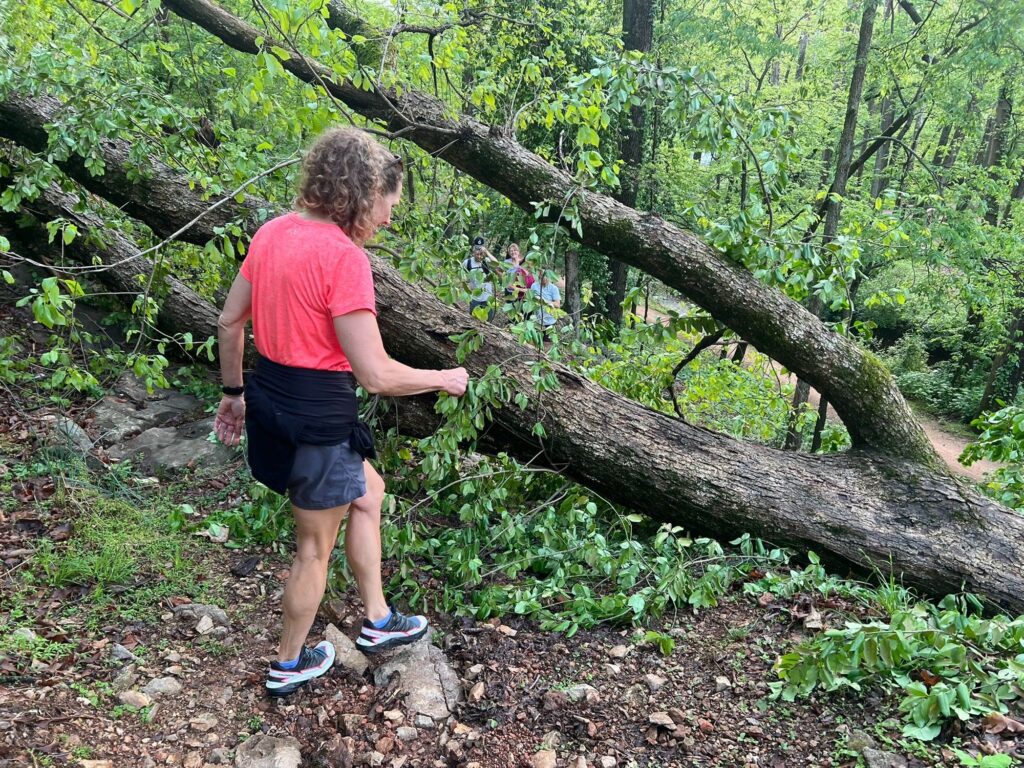
- Choose your surface. A paved trail is a hard, even surface with no roots or rocks to watch for, so it is a good place to find your pace. An unpaved natural trail is softer underfoot but uneven, and it asks more of your feet, ankles, and balance. See what each looks like on our Trail Surfaces page.
- Add distance. Once a route feels comfortable, go a little farther on the same kind of surface.
- Add elevation gain. Climbing and descending are harder on your legs and knees than flat miles, so add hills last.
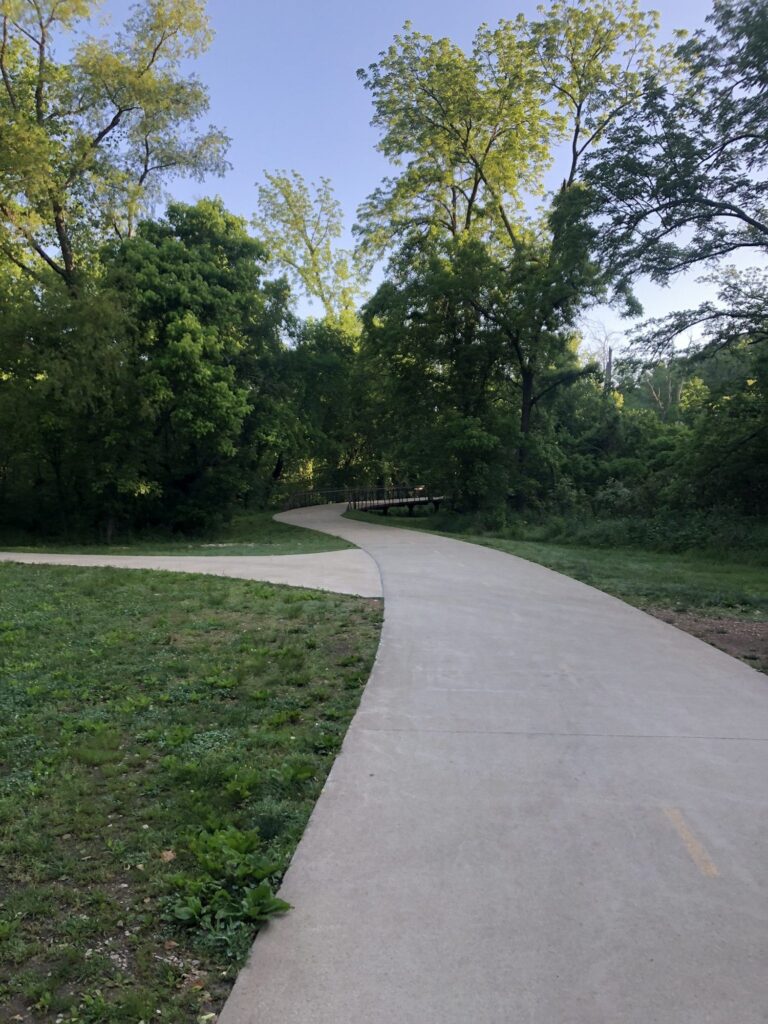

Our Difficulty Examples page shows what each level looks like on the ground, so you can pick your next step with confidence.
What Tends to Get Hurt

Most hiking aches fall into three groups. Knowing them helps you prevent them.
- Joints. Your feet, ankles, and knees absorb every step, especially on rocky ground and downhill. Stronger muscles around them take some of that load.
- Muscles. Soreness and strains usually come from going too hard, too soon, or starting cold. A short warm-up and a cool-down stretch go a long way.
- Skin. Blisters are caused by friction and moisture. The right socks and shoes prevent most of them, and our Hiking Shoes and Socks guide explains how.
Strengthen Your Joints
These three moves build the muscles that support your knees and ankles on climbs and descents. You can do them at home a few times a week with nothing more than a sturdy step. Do 2 sets of each.
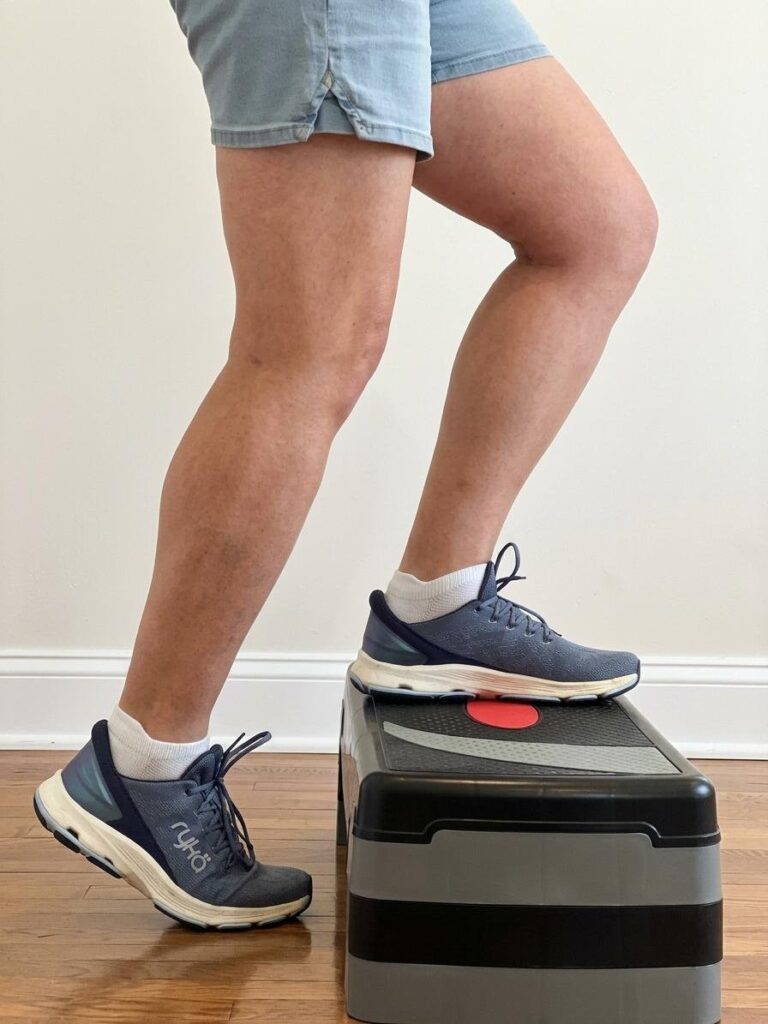
Step-Ups
- Face the step.
- Step up with your right foot, then your left. Stand tall at the top.
- Step down with your right foot, then your left.
- On the next rep, lead with your left foot. Left up, right up, left down, right down.
- Keep switching your leading foot with each rep. Do 8 to 10 reps with each foot.
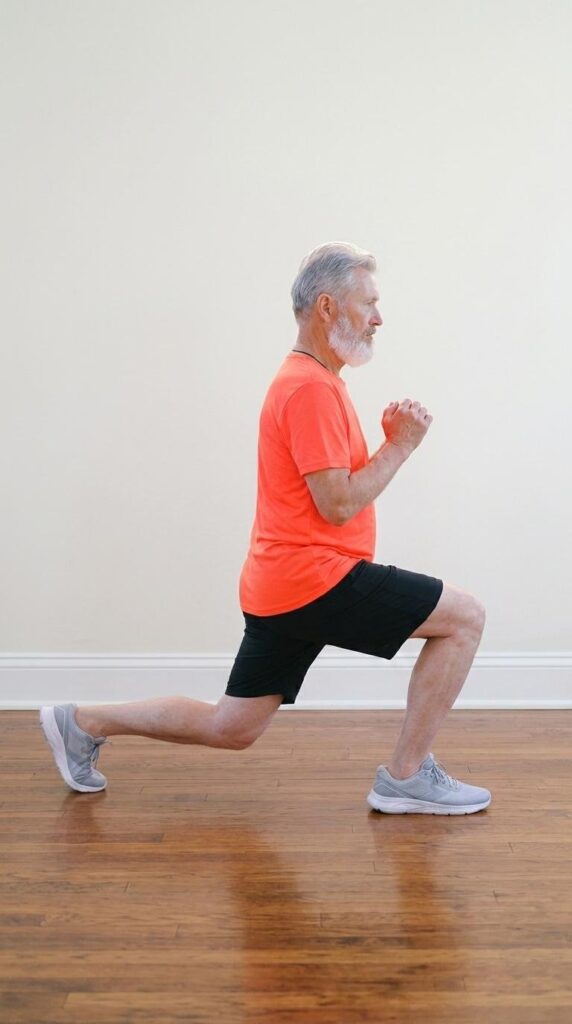
Lunges
- Step forward (or back) with one foot, and bend both knees toward 90 degrees.
- Keep your front knee over your foot and your weight in your front heel.
- Push through that heel to stand back up.
- Do 8 to 10 reps with each leg.

Deep Squat
- Sit back as if you were reaching for a chair, keeping your weight in your heels.
- Go only as deep as feels controlled, and keep your chest up.
- Do 8 to 10 reps.
Listen to Your Body
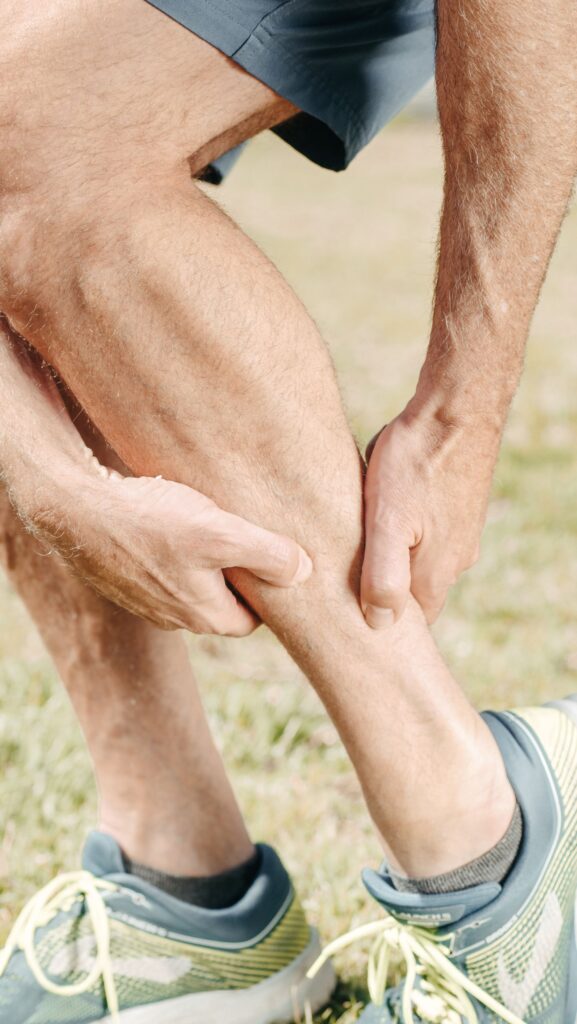
Some muscle soreness a day or two after a new or longer hike is normal. Pain is different. If a move or a hike hurts, stop.
- Stop if the pain is sharp. Sharp or sudden pain in a joint is a signal to stop, not to push through.
- Stop if it changes how you walk. If you start limping or favoring one side, turn around and take the shortest way back.
- Rest if it lingers. Swelling or pain that is still there days later is worth a visit to your doctor before your next hike.
If you have a heart condition, a past injury, or have been inactive for a while, check with your doctor before starting a new exercise routine.